I recently bought the Eternally Yours Liquid Lipstick set by Stila Cosmetics from Cult Beauty - the set is unfortunately sold out everywhere but you can purchase them individually!
Loads of different brands have been coming out with matte liquid lipsticks but these have to be my favourite formula. They do not flake on the lips and don't feel drying, they're super comfortable to wear! They contain vitamin A, C and E which help keep the lips hydrated. The liquid lipsticks aren't streaky either, one swipe gives enough pigmentation. I once fell asleep in my makeup (oops) and I was wearing 'Fiery' and it still was still on my lips with no bleeding or smudging.

CARAMELLO
Neutral nude
(This shade was exclusive to the set)


PATINA
Dusty rose
You can purchase it here


ARIA
Magenta hue
You can purchase it here


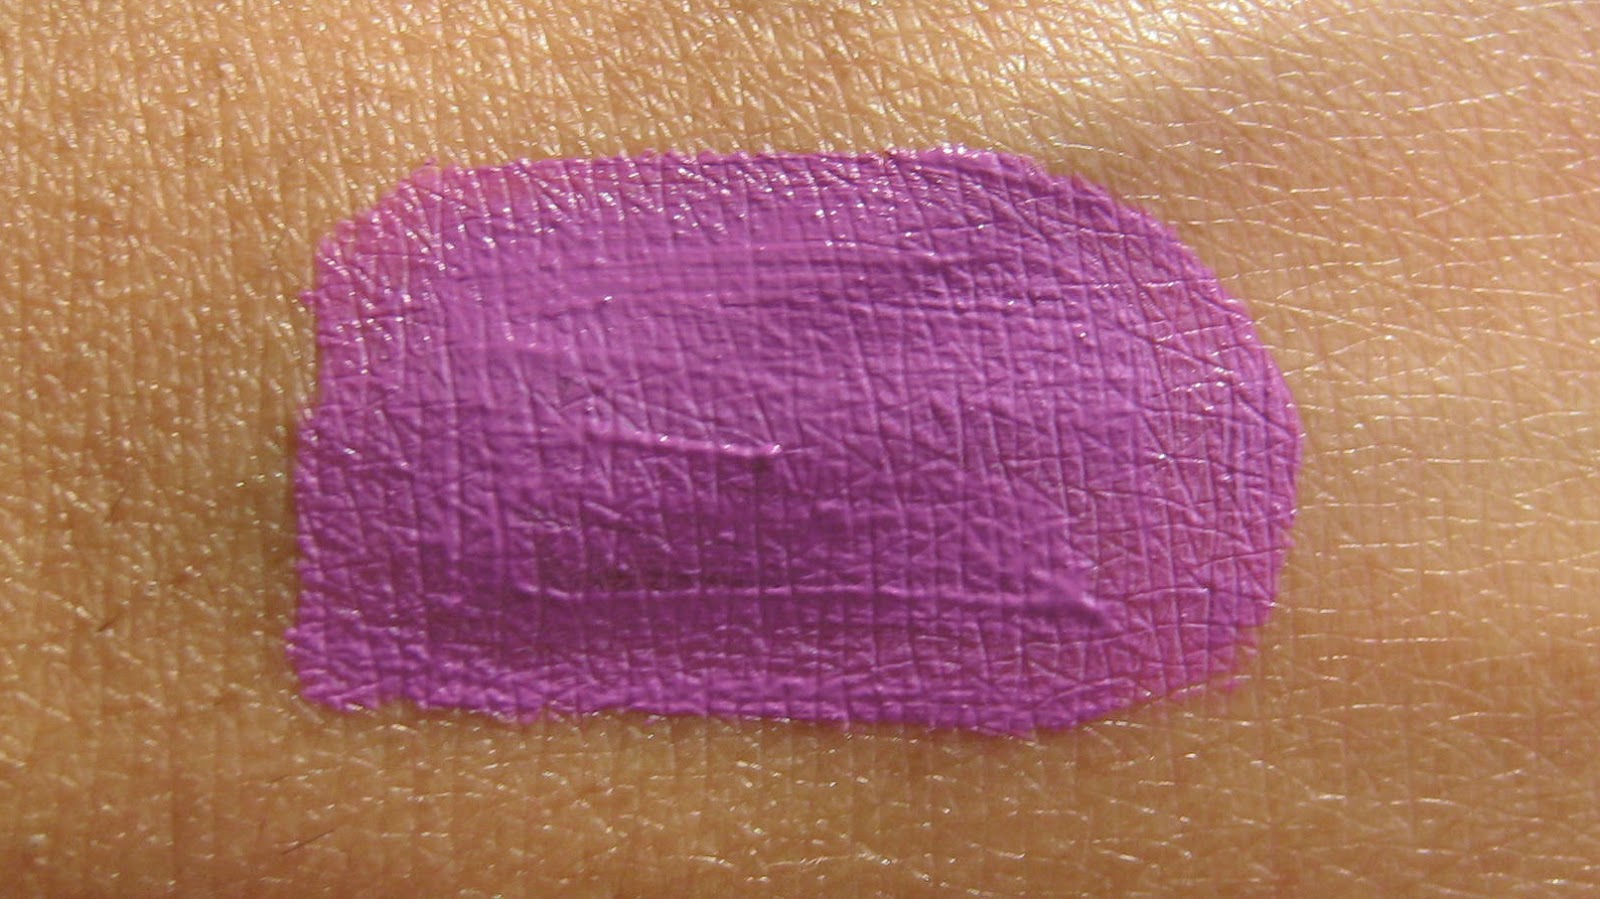
COMO
Vibrant bright violet

FIERY
A true blue-toned red
You can purchase it here


CHIANTI
Deep plum
(This shade was exclusive to the set)


6 liquid lipsticks for £29 was such a great deal from Stila! If you missed out this year hopefully they'll do another set like this next year. If you can, definitely purchase them individually. My favourite is Patina! It looks gorgeous paired with MAC Soar lipliner.

Let me know your favourite shade in the comments below and if you've tried other shades cos I want to buy more!
Sachini
xoxo